Bathroom Makeover
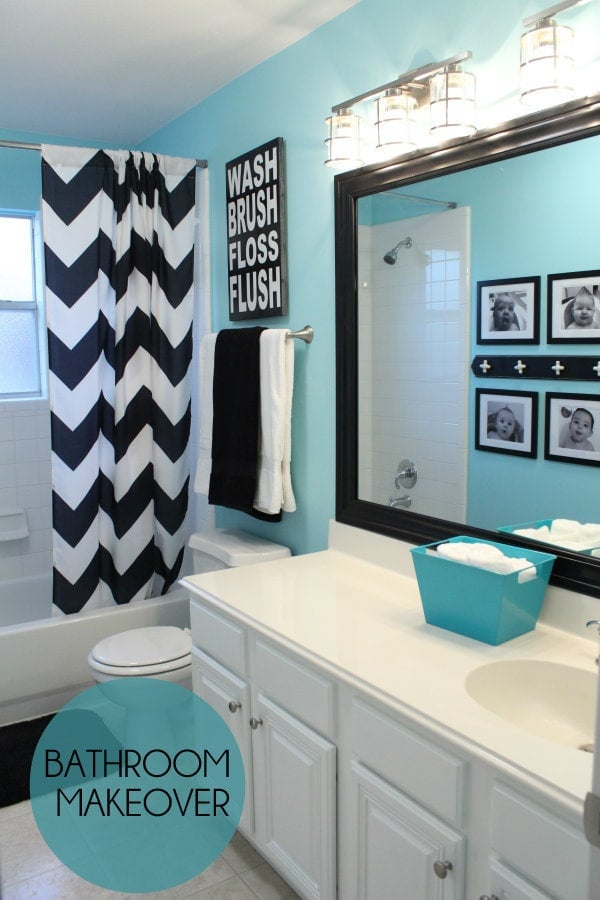
I think this next home project will be the first one I’ve shared with you guys since moving to Texas.
We moved at the very end of May and have enjoyed starting fresh on a new house with lots of fun projects. We’re pretty much working on a part of the house each weekend, and the past week it has been our Guest Bathroom. Let me begin by saying that although our house isn’t very old, everything (and I mean everything, including the ceilings) was TAN… and had brass fixtures. Yeah, not my cup of tea, so we have now painted EVERY room, all the oak-colored cabinets, the ceiling and have changed all of the cabinet knobs and door knobs. It’s slowly starting to feel like home and I can’t wait to show you more pictures.
Today, I will be showing you our Guest Bathroom Makeover.
In a nutshell, we painted the walls (didn’t have a pic of it beforehand), changed out all the light fixtures, painted the cabinets, changed the cabinet knobs, made a DIY Framed Mirror, and added some cute wall decor. Here are the before and after pics:
It looks a gazillion times better than it did before, and I’m SO happy with how it turned out. I know I’ll be adding a few more things still but will be doing that over time. This bathroom links to the guest bedroom/nursery so I wanted to make sure it looked cute first before any of the others. We have family coming next week and two weeks after that so this was good motivation to get it done (we always work better under pressure). 😀
We did quite a few things to spruce up this bathroom, and I want to share with you all that we did and show with you how you can do the same thing without spending a TON of money. 🙂

Said goodbye to the oak cabinets and brass knobs cuz they weren’t too pretty, and I just can’t do plain wood color for some reason. 😉
We recently painted our kitchen cabinets and replaced the knobs too, so we kept all of these nickel knobs to add to the bathroom cabinets.

Such a huge difference already!
When we removed our old lights there was dry-wall damage from the way they had been installed previously. There were several divets to fill as well as a gaping hole to patch. The materials we needed to fix this were:
– 2 light kits
– Spackle (we used Fast’N Final Lightweight Spackling – it’s super light, sands really fast and dries quickly)
– 4 inch patch kit
– Sanding Screen
– Wire cutters
– Cordless Drill
– Spackling knife
– Touch-up Paint & Paint brush
DIRECTIONS:

1. First, we removed the old light and applied the patch to the large hole. The style we used had an adhesive mesh with a thin metal plate. So you simply remove the backing and stick it the wall in the area of the hole.
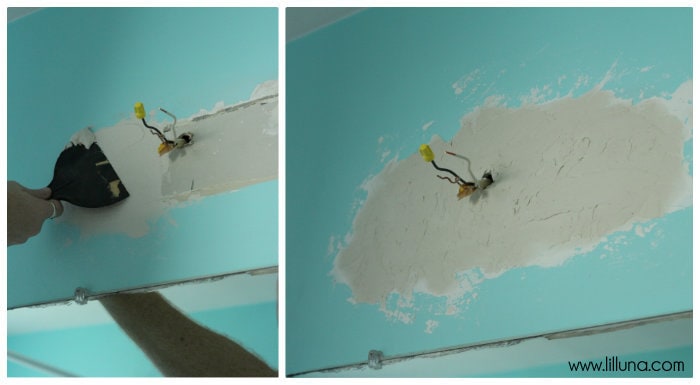
2. We spackled over the patch and over all the divets. It’s better to add too much and sand it away later, than to not add enough and have to re-apply.
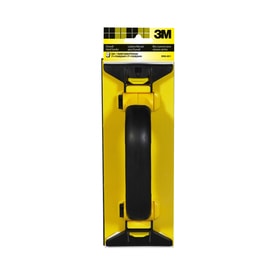
3. Sand the spackling smooth. We used 150 grit sanding screen and a drywall hand sander. We sanded until it was completely smooth and had no visible transitions to the painted wall. This was very dusty. We would recommend putting down plastic because dust went everywhere. We painted it when it was done.

4. Install the lights according to the instructions provided. We bought the Allen + Roth 3-Light Vanity Light found here.
5. We also installed an LED Flushmount Ceiling Fixture. This light is awesome. It puts out a ton of light and is extremely light an easy to install. It also lasts 30,000 hours without having to change any bulbs. Plus, it’s very energy efficient and cost only $35 and included the lights (found here).

I LOVE the new lights, and not only do they provide more light but are just prettier too!

We felt like this was an easy project that would add a lot to our bathroom. We are planning on doing this for all our bathrooms and knew we needed an easy and inexpensive way to do it. Here is what we came up with:
– White Prefinished Polystyrene Casing Moulding (found here). We used this because it was inexpensive ($5.15 for 7 feet), extremely lightweight, easy to work with and moisture resistant since it’s not made of wood.
– Staple gun and staples
– Super glue
– Latex Caulking
– Paint (We used Rustoleum High Performance Black Enamel)
– Spray Polyurethane (we used Clear Satin)
– Hand Miter Saw (found here)
– Painters Tape


Comments
Post a Comment